
Preparation
- a few index cards (one for each bookmark)
- a pen/marker (I used a Sakura Pigma Micron 08 pen)
- a ruler (which I somehow lost in the middle of making the bookmarks)
- a pencil

What I like about using index cards is that (at least with the writing utensil I used) it doesn't bleed through. Below is a picture of a back of one of the bookmarks I made. It didn't bleed through at all, meaning that I could even write notes or messages on it.

Making the Bookmarks
Layout
The layout of the bookmarks is simple. All there is to it is a flower in the top left corner and one in the bottom right corner. After that, you can add your text.


The Flowers
While the text is the main part of the bookmark, without the flowers, the bookmarks wouldn't be very special at all! The flowers might look a bit complicated, but they actually are quite simple.
Here's how you make a flower:


- Make a small circle.
- Add five rounded petals around the circle. Try to make them the same size.
- In the spaces in between the petals, make small triangles poking out.
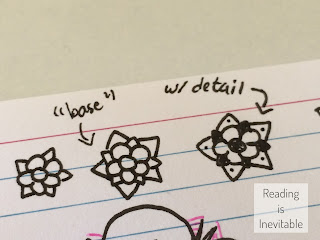
- Next, make larger triangles in the spaces between the smaller triangles. You are building out from the center circle. This is a "base".
- Add detail to the base. Make diagonal lines in the center circle (step 1). Completely color in the triangles from step 3. Make small dots in the center of the larger triangles (step 4).
- Now you will add the other structures that make up what I call the "inner section". Add rounded triangles in the spaces between the triangles from step 4. These should be larger than those in step 4. Add rounded lines connecting them. The lines should be in between the top and middle of the rounded triangles.
- Once again, add details. To make the rounded triangles look like leaves, add a vertical line down the middle and two lines on each side branching out from it. In the pockets of empty space created by the rounded lines, make lines from the top of the line to the edge of the dotted triangle. You have completed the inner section.
- Start the outer section. Make five large petals similar to the smaller petals in step 2. Be sure to include spaces in between the petals. In these spaces, create little "rabbit ears" (two thin upside-down V's). In the bit of space in between the edges of each rabbit ear and the petal it is next to, make little lines connecting it. (Shown in pink in the picture.)

- Finishing touches! Make little "bumps" or "hills" on the edges of the petals. Add two dots floating above the V that each set of rabbit ears make (like they are being shot out of them).


When making your flowers, be careful of smearing. If you don't give some time to wait every now and then, you might accidentally smear your flower, leaving a black smudge on your bookmark. Trust me: I did this on my first one. :(
Before making the flower, I would suggest practicing a bit. I know that I drew the flowers a few times before making my bookmarks.
 |
| I practiced drawing the flower beforehand. |
Adding Text
You can chose to write whatever you want on your bookmark in any font. I have a few suggestions and tips to doing this below.
 |
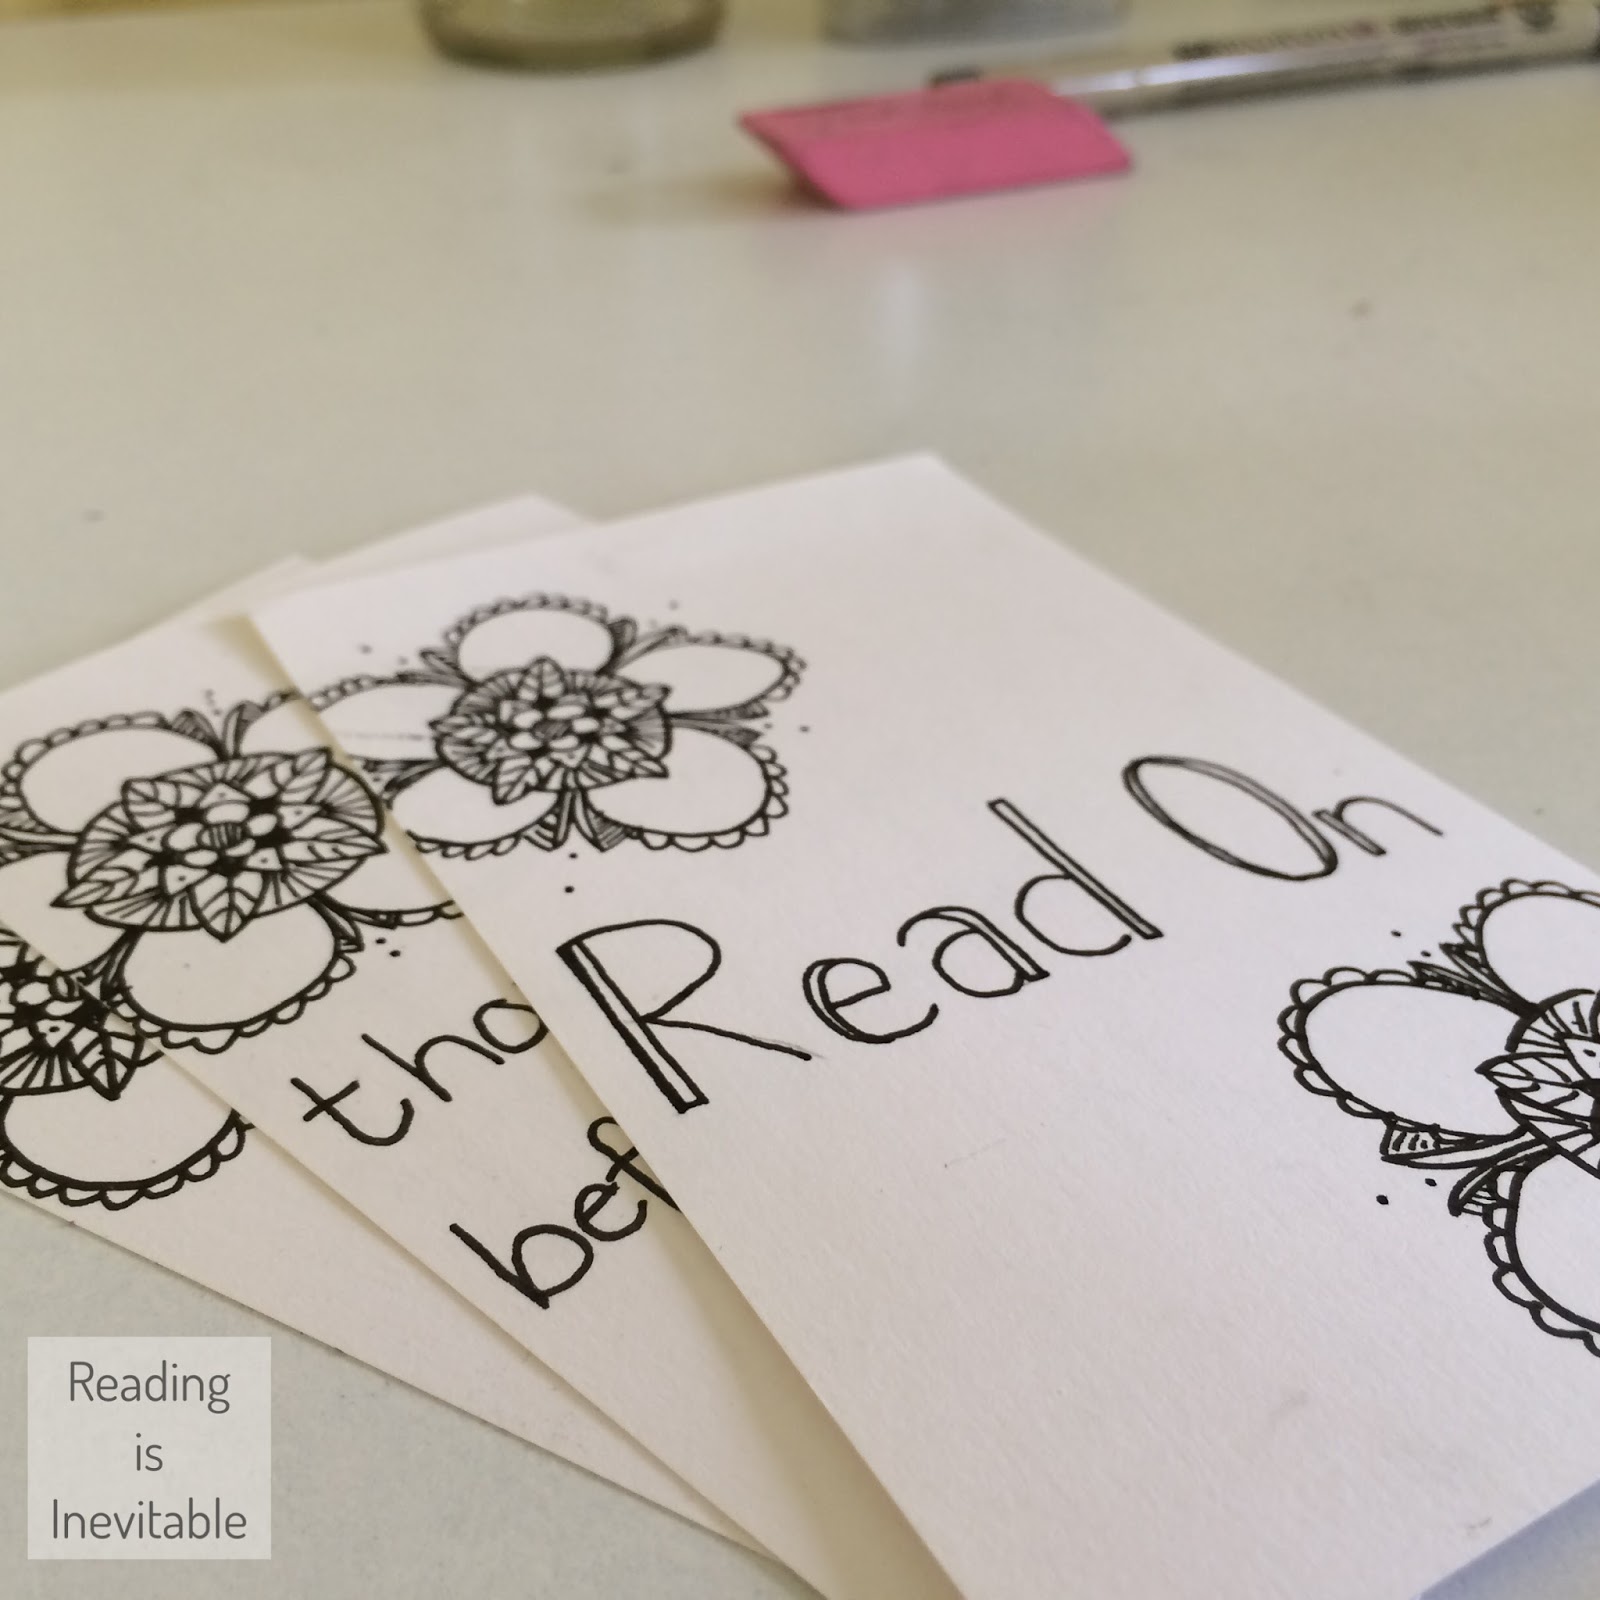
| This bookmark features a quote from George R.R. Martin's A Dance With Dragons. |
Before writing your text, I would make a line with a pencil. This is where the ruler comes in. Using a pencil and the edge of your ruler, make a light line to use as a guide when writing. I would also first pencil out your words, as you can see I did in the video.
After that, trace over it with your pen. When I traced over it, I decided to do a "fancy" font. You may do it in any font that you like.

And there you have it! Your own flower pattern bookmark! Buying handmade bookmarks can be a bit pricey or difficult, but as you can see, you can easily make your own! If you make some of your own flower pattern bookmarks, feel free to e-mail us some pictures or to message or tag us on our Instagram, @readingisinevitable. I would love to see your bookmarks!

Now it's time to use your bookmark! :)
And there you have it! Your own flower pattern bookmark! Buying handmade bookmarks can be a bit pricey or difficult, but as you can see, you can easily make your own! If you make some of your own flower pattern bookmarks, feel free to e-mail us some pictures or to message or tag us on our Instagram, @readingisinevitable. I would love to see your bookmarks!

 |
| My "Read On" bookmark is shown here with the book Being Jazz: My Life as a (Transgender) Teen. A book review on Being Jazz is publishing this Friday. |
Thanks for the tutorial -- I think your bookmarks are gorgeous! I love your video, too!
ReplyDelete